

From $254.15

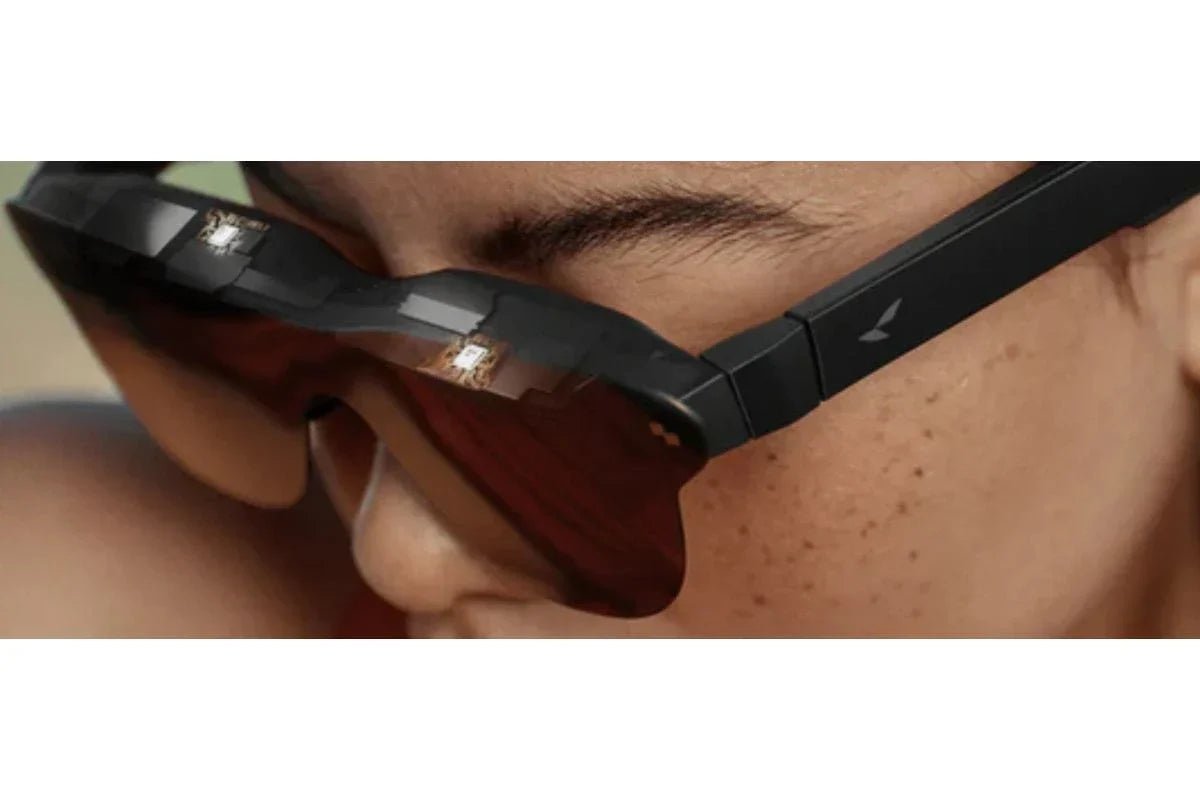
Wireless streaming removes the need for direct cable connections between devices, creating more flexible ways to use XR glasses for entertainment, gaming, and productivity. From presentations in meeting rooms to videos at home, people expect to connect devices without relying on bulky cables. The same idea applies to XR glasses, where wireless connectivity creates a more comfortable and immersive viewing experience. A DIY wireless display cast receiver for XR glasses lets you stream content from compatible devices while reducing the limitations of wired connections.
It can be a cost-effective project for anyone who enjoys building their own tech solutions and wants greater flexibility for gaming, streaming, or productivity. With a few compatible components, you can assemble a portable setup that makes using XR glasses more convenient in everyday situations.

A DIY wireless cast receiver for XR glasses is a custom-built setup that receives wireless video signals from a phone, PC, or other compatible device and converts them into a format supported by XR glasses.
This approach gives XR enthusiasts greater flexibility to customize their setup, reduce costs, and enjoy a cable-free viewing experience for gaming, streaming, productivity, and other everyday applications.
AR glasses require a specialized video connection because they use a USB-C connection with DisplayPort Alt Mode to receive video and power from compatible devices. Some devices output video through HDMI, while others support USB-C DisplayPort output. The required connection method depends on the source device and XR glasses. Stable power, video, and audio routing are essential to avoid black screens or interruptions.
Therefore, XR-specific adapters or active video converters may be required. If a source device outputs HDMI, the conversion hardware must provide a compatible DisplayPort signal over USB-C. Compatibility depends on the XR glasses model, adapter hardware, resolution support, and power requirements.
Building a wireless display receiver doesn't require many specialized parts, but selecting the right components is important. Each piece plays a role in transmitting video smoothly to your XR glasses. Start by gathering these essential items before beginning the assembly process.
A wireless casting dongle receives video from a compatible source device and outputs the signal through a supported video connection. Additional conversion hardware may be required for XR glasses. Depending on your source device, you can use a Miracast receiver, AirPlay-compatible receiver, Chromecast-compatible device, or wireless HDMI transmitter/receiver system.
Some XR glasses require USB-C DisplayPort Alt Mode input. If a wireless receiver outputs HDMI, an active HDMI-to-USB-C converter designed for compatible XR glasses may be required. Compatibility depends on the glasses, converter, resolution, and power requirements. This ensures compatible devices can display video correctly without a direct HDMI connection.
A portable power source keeps the wireless receiver and HDMI-to-USB-C adapter running while you're away from a wall outlet. A USB power bank is a convenient option, providing reliable power for a portable, cable-free XR glasses setup.
To assemble a DIY wireless cast receiver setup for XR glasses, you’ll need a compatible wireless receiver, the appropriate video conversion hardware, and a suitable power source. The process is essentially about creating a small device that can accept wireless streams (like Chromecast or Miracast) and then output them to your XR glasses via USB-C or HDMI. Here’s a structured step-by-step guide you can follow:
Proper audio setup is just as important as video quality. Configuring the correct audio output and knowing how to resolve common issues will help ensure a smooth wireless experience with your DIY wireless cast receiver for XR glasses.
Audio Configuration Steps
Common Troubleshooting Tips
Wireless casting can introduce some latency, depending on the casting protocol, receiver hardware, network conditions, and XR glasses processing performance.
Wired connections generally provide the lowest delay, while wireless solutions may add noticeable lag during fast-paced gaming or interactive content.
For the best experience, use a stable connection, compatible hardware, and optimized settings when needed. Testing different configurations can help identify the most suitable setup for your specific XR glasses and use case.
A reliable wireless receiver performs best when paired with compatible XR glasses. If you're looking for a display-focused experience, the following RayNeo models offer excellent visual quality, comfort, and compatibility for wireless streaming across a variety of devices.
The RayNeo X3 Pro AI+AR Smart Glasses combine MicroLED display technology, a heads-up display (HUD), and AI-powered features designed for hands-free interaction, information access, and AR experiences. Weighing approximately 76g, the X3 Pro features a lightweight design, USB-C charging, and AI capabilities suitable for travelers, developers, and productivity-focused users.
Key Features:

The RayNeo Air 4 Pro AR Glasses are designed for users seeking a high-quality wearable display for entertainment, gaming, and productivity. Featuring advanced display technology, they deliver sharp 1080p visuals, HDR support, and clear image quality for various viewing scenarios. Their lightweight, plug-and-play design supports easy connection with compatible devices through USB-C DisplayPort.
Key Features:

With the right XR glasses and compatible components, creating a seamless wireless viewing experience becomes much easier. A DIY wireless display cast receiver for XR glasses can unlock greater flexibility for streaming, gaming, and productivity without being limited by cables. However, achieving reliable performance requires careful attention to setup, compatibility, and optimization. Following the correct setup steps and choosing compatible components can help ensure a smoother wireless XR viewing experience.
AR glasses can sometimes be used with wireless display solutions, but the required hardware depends on the glasses, source device, and supported video protocols. Most setups require a compatible wireless receiver and a suitable video conversion method.
Yes. You can connect AR glasses to a PC using a compatible USB-C connection or an HDMI-to-USB-C adapter if your computer only has HDMI output. This lets you mirror or extend your desktop onto a large virtual display, making it ideal for gaming, streaming, work, and other everyday PC tasks.
Yes, wireless casting can introduce some latency, but the amount depends on the connection method. Wi-Fi Direct and proprietary streaming apps typically provide smoother, lower-latency performance than Bluetooth or standard screen mirroring. For gaming or interactive AR, a fast Wi-Fi connection generally delivers the best experience with minimal delay.


Share:
Smart Glasses with Display: Features and Top RayNeo Picks
Wearable Display Glasses: A Guide to Choose the Right Pair